
Making a cake in a bread maker is a fun way to bake without the need to use an oven. You can just use a regular cake recipe and pop it in your bread machine.
You may wonder why you would make a cake in your bread maker when you can just as easily bake it in an oven. I often wondered about this, so I decided to test it out using the ‘bake’ feature on my bread machine.
Most bread makers will have a ‘bake’ feature, where you mix the ingredients by hand before putting them in the bread pan. You can then manually set the program for your desired length of time.
This is our current breadmaker (but we have the black version);
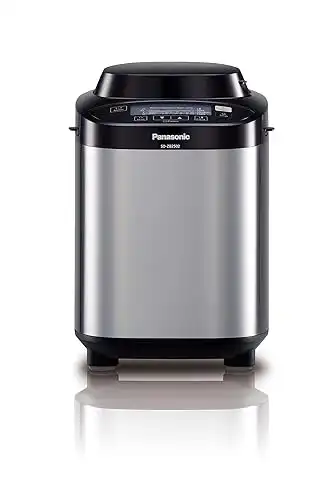
On the Panasonic, it is the menu button ’18.’ Check with your user manual to make sure you use the correct button.
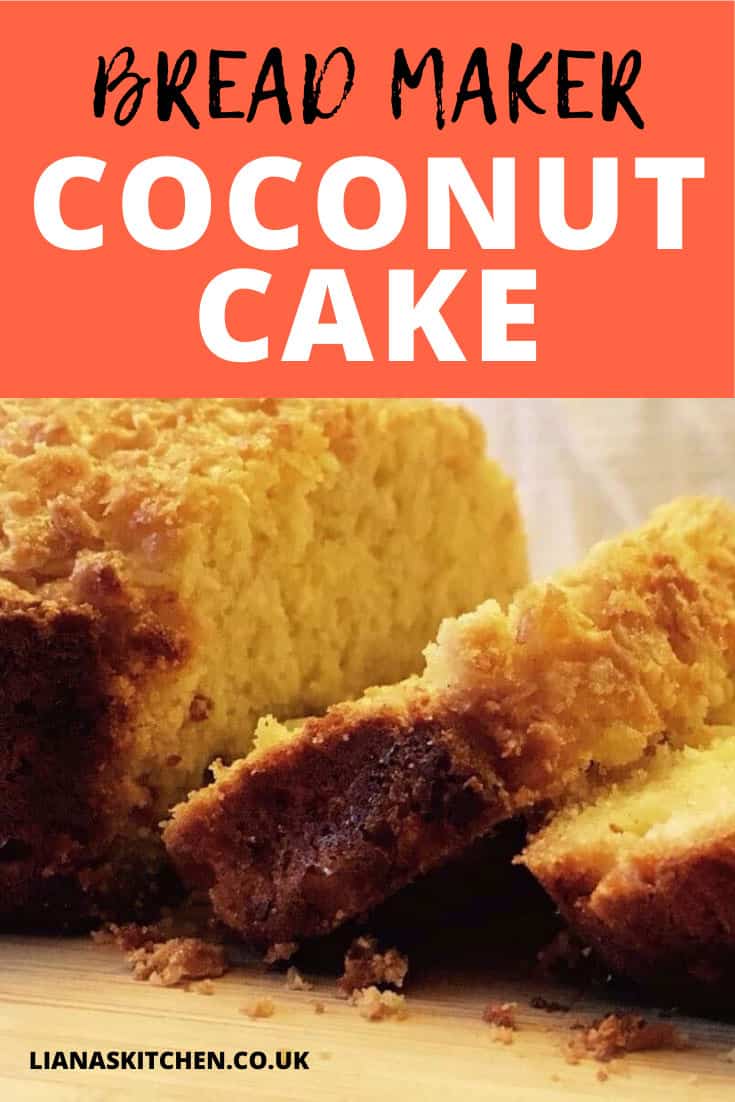
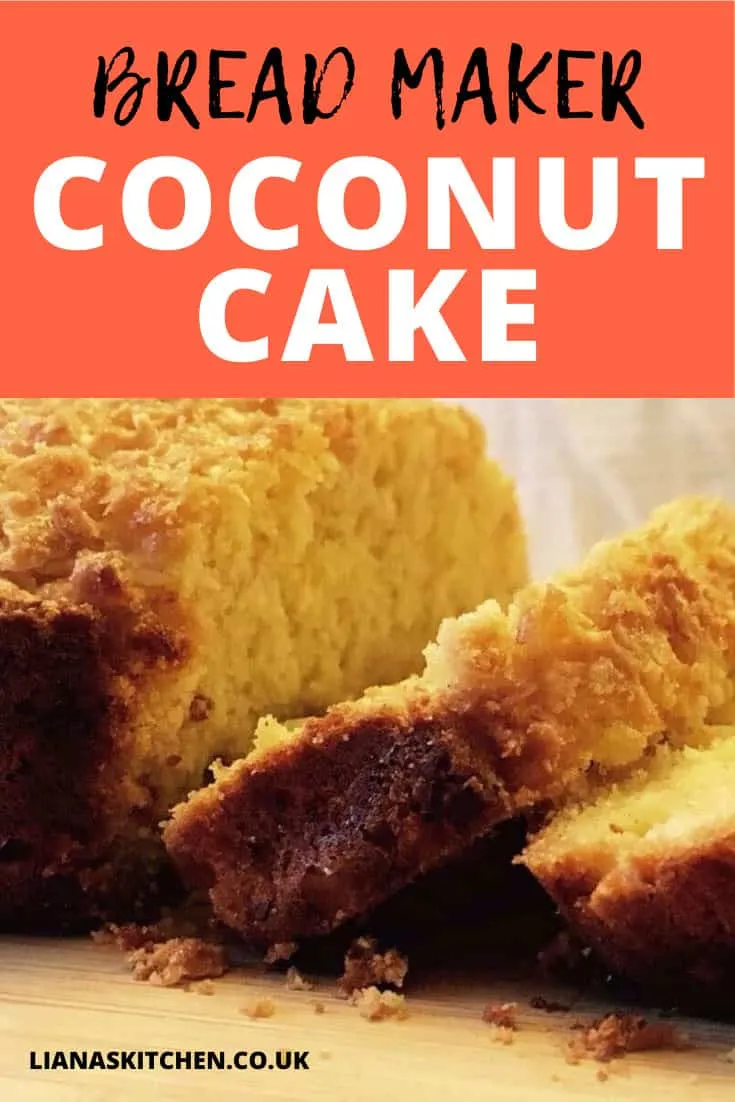
I love baking with coconut; desiccated coconut is a useful ingredient to keep in the cupboard to add to sweet and savoury dishes.

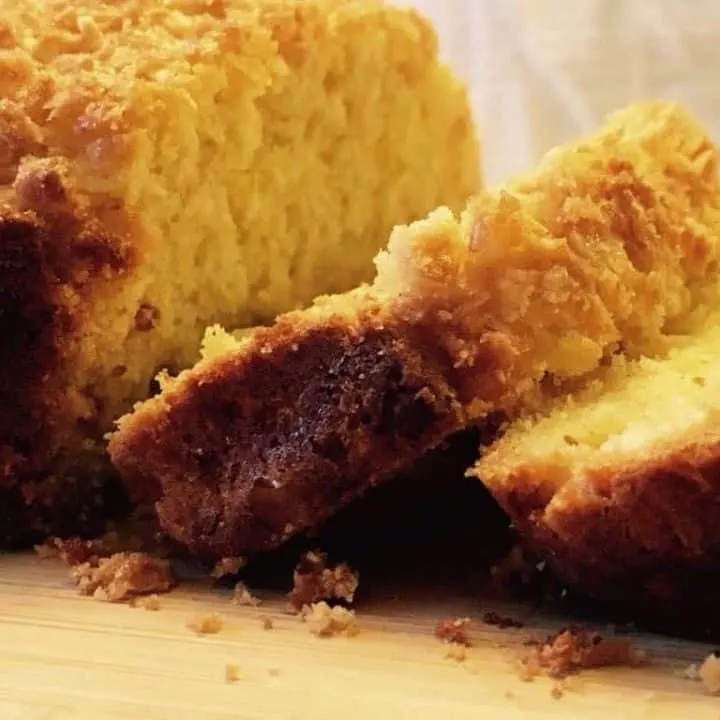
Coconut Cake - A Breadmaker Cake Recipe
Making cakes in a bread maker is a fun way to bake without the need to use an oven. Try this tasty coconut cake - you won't be disappointed.
Ingredients
- 175g plain flour
- 2 eggs
- 120 g caster sugar
- 75g desiccated coconut
- 2tsp baking powder
- 90ml milk
- 125g butter (or margarine)
- 2tbsp demerara sugar, Topping
- 2tbsp desiccated coconut, Topping
Instructions
- Beat the eggs in a measuring jug. Add the milk and combine.
- Mix in 60g of the caster sugar, as well as the coconut. Leave to stand for 20 minutes.
- In a separate bowl, sift the flour and baking powder. Add the remaining 60g of caster sugar.
- Add the butter (or margarine) and rub together with your fingers until the mixture resembles breadcrumbs.
- Add the coconut mixture and gently mix together.
- Remove the paddle from your bread pan and either lightly grease the pan with butter, or line it with greaseproof paper.
- Pour mixture into bread pan.
- Mix the desiccated coconut and the sugar. Sprinkle on top.
- Choose the 'bake' setting on your bread maker. Manually set the time for 50 minutes.
- The cake should be firm to touch. Tip the bread pan upside down on a wire rack and allow to cool.
Shamini
Sunday 1st of October 2023
I tried the coconut cake recipe in my old little bread maker using the No yeast setting . The cake was so delicious and I enjoyed it with family.
( I substituted dessicated coconut with coconut flour and reduced sugar by a third )
Thank you for the great recipe
Nicci
Friday 27th of January 2023
The tastiest cake! I took a cheeky shortcut, leaving the paddle in and using the 'sweet' setting. Dry ingredients first, then wet, breaking up the butter in to small pieces. Just took it out after an hour. Worked! Thankyou for the recipe! :D
Annie
Tuesday 6th of September 2022
So did all the instructions and then read that I need to manually change the time, which I can’t so put it in on my machines cake option for 2 hrs 50 🤦🏻♀️ Wish me luck lol
Susan Williamson
Sunday 15th of November 2020
I'm making this recipe for the first time. Like Lisa I chucked all the ingredients in bread maker, so fingers crossed.
Lisa
Monday 17th of August 2020
Hi, this recipe was amazing I didn’t follow it properly and chucked it all in bread maker! All dry then wet ingredient and hoped for the best but turned out amazing!! I used brown sugar instead of caster but grinded it. I have never used the bread maker for cake was first time and was impressed!! The coconut cake was small so would like to double up recipe next time! I even added bit of vanilla extract too!!
Liana Green
Sunday 23rd of August 2020
Thanks for your message Lisa - I'm happy to hear you enjoyed it! Yes, the bread maker is great for making cakes when you don't want to use the oven - I really should use it more!